
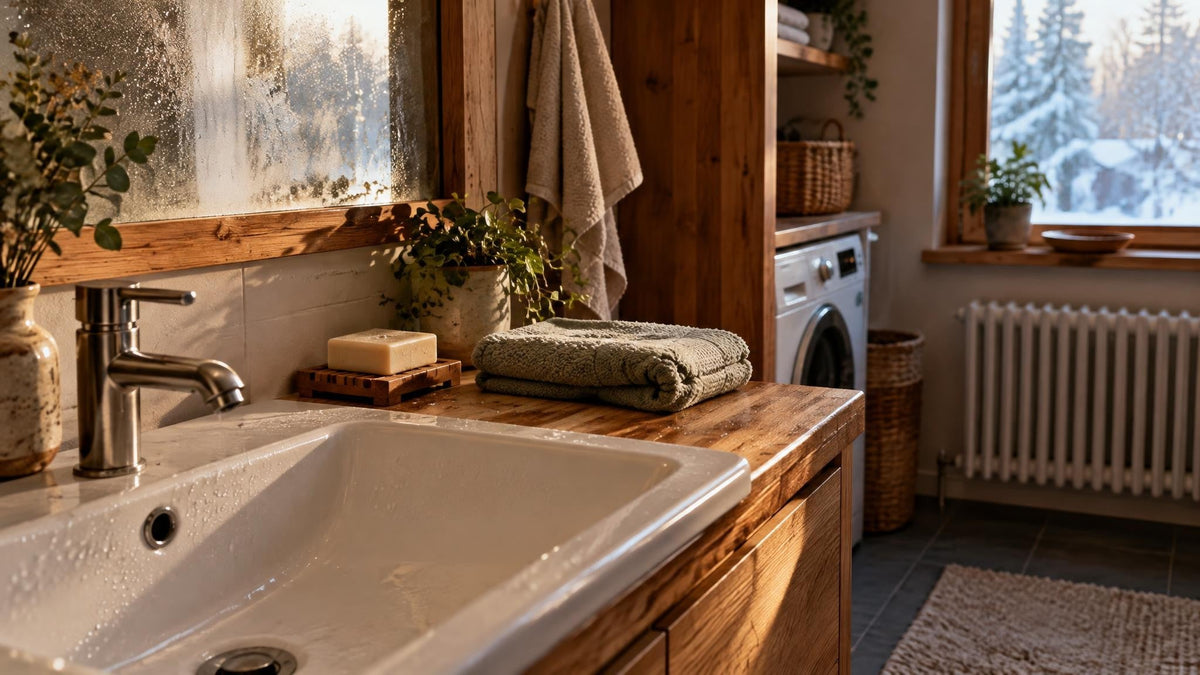
Winter is hard on a lot of things: roads, lips, hands, and the general public’s ability to remember where they left their gloves. It can also be rough on bar soap.
Cold weather changes how your bathroom behaves. Indoor heat dries the air, showers run hotter, and a bar that used to dry between uses may start sitting in a warm little puddle like it has accepted a new career as soup.
If your soap gets soft, slippery, or noticeably smaller every time you pick it up, the problem may not be the bar. It may be the place where the bar lives.
Why bar soap gets mushy
Bar soap needs time and airflow between uses. When it sits in standing water, the outer layer softens. Each wash then removes more of that softened soap, which leaves you with a smaller bar and a soap dish full of beige sadness.
Winter bathrooms create a few extra challenges:
- Hotter showers: Steam and splashback keep nearby surfaces wet longer.
- Less ventilation: Cold weather often means closed windows and shorter fan time.
- Heated rooms: Warm air can make the bathroom comfortable while the shower area stays damp.
- More layers and clutter: Extra towels, bath mats, and winter gear can block airflow.
The goal is not to turn your bathroom into a laboratory. The goal is simply to stop your soap from living in a puddle.
The soap-dish test
Start with the place your bar rests. Pick it up after a shower and look underneath.
If the dish is holding water, if the bar is sitting flat against a wet surface, or if the underside feels slimy, you have found the main suspect. A solid tray with no drainage is attractive for approximately six minutes. After that, it becomes a tiny indoor pond.
A better soap dish should do three things:
- Let water drain away from the bar.
- Keep the soap lifted above the wet surface.
- Give air a chance to reach the underside.
It does not need to be fancy. A draining rack, slotted dish, or elevated soap rest can make a noticeable difference. The important feature is separation from standing water.
Move the bar out of the splash zone
Many soap dishes are placed exactly where the shower hits them. This is convenient in the same way sleeping beside a sprinkler is convenient.
Move the bar to a shelf or ledge that stays reasonably dry. Keep it close enough to reach without performing a dramatic one-handed stretch, but far enough from the shower stream that it is not getting a second wash while you finish the first one.
If the bathroom has a shower curtain, check whether the bar is sitting on the side that receives the most spray. If you use a glass door, notice where water collects after the shower. The wettest corner is usually not the best retirement home for your soap.
Rinse the dish, not just the bar
Soap residue builds up on the dish too. That residue can hold water against the bar and create a slick surface that makes drainage worse.
Once or twice a week, rinse the soap dish with warm water and wipe away the buildup. Use cleaning methods appropriate for the dish material, and let it dry before putting the bar back.
This is a small job, but small jobs are how bathrooms avoid becoming archaeological sites.
Give the bar a little time off
If more than one person uses the same bar, or if you shower frequently, the soap may not get enough drying time. Consider keeping a second bar in rotation and allowing the first one to dry fully between uses.
That does not mean you need a seven-bar fragrance library organized by mood. Two bars are enough for most households: one in use and one drying. Store the spare somewhere dry and ventilated rather than sealed in a damp container.
If you travel with bar soap, let it air-dry before closing it in a case. A wet bag is temporary containment, not long-term storage. Bring the bar home damp and it may arrive with the personality of a gym locker.
Do not leave the bar in a hot, steamy corner
It is tempting to place soap on the bathtub edge or beside the faucet because those spots are easy to reach. Unfortunately, they are also often exposed to constant moisture.
Try a higher shelf, a wall-mounted draining holder, or a nearby dry surface outside the direct shower area. If the soap is shared, choose a location that works for everyone. A storage solution nobody can reach is just bathroom decoration with paperwork.
How to tell whether the bar is still usable
A soft outer layer does not automatically mean the soap is ruined. If the bar smells normal, looks as expected, and feels comfortable to use, move it to a better-draining spot and give it time to dry.
If it has picked up hair, visible debris, or an unusual smell, replace it. Do not keep forcing a bar through its final miserable chapter just because it technically still exists.
For a new bar, avoid leaving it submerged or pressed into a wet dish. A few seconds of better storage after each shower can help it last longer and stay easier to handle.
The winter bar-soap setup that works
Here is the simple version:
- Use a draining or elevated soap rest.
- Place the bar outside the direct splash zone.
- Rinse residue from the dish regularly.
- Let the bar dry between uses.
- Keep spare bars in a dry, ventilated place.
- Run the bathroom fan long enough to reduce lingering moisture.
That is the whole playbook. No complicated storage system. No tiny soap hammock. No need to interrogate the bar under a bright light.
Winter may bring dry air, hot showers, and enough laundry to qualify as a second job, but your soap does not need to join the chaos. Keep it elevated, let it breathe, and stop giving it a permanent seat in a puddle.
If you need a sturdy everyday bar to pair with better storage, Smooth Cedar natural soap is a straightforward fit for the shower, with a warm woodsy scent and a rich lather that works well in a practical winter bathroom setup. Keep the bar dry, and let the bathroom handle the rest.